 Save to Pinterest
 Split a 12-count Hawaiian roll loaf, layer sliced cheddar (and optional ham or turkey), replace the top, brush with a butter-mustard-honey glaze, and bake at 350°F until the cheese melts and the tops turn golden. Ready in about 25 minutes, these bite-sized sliders are great for gatherings; swap cheeses or add caramelized onions for variety.
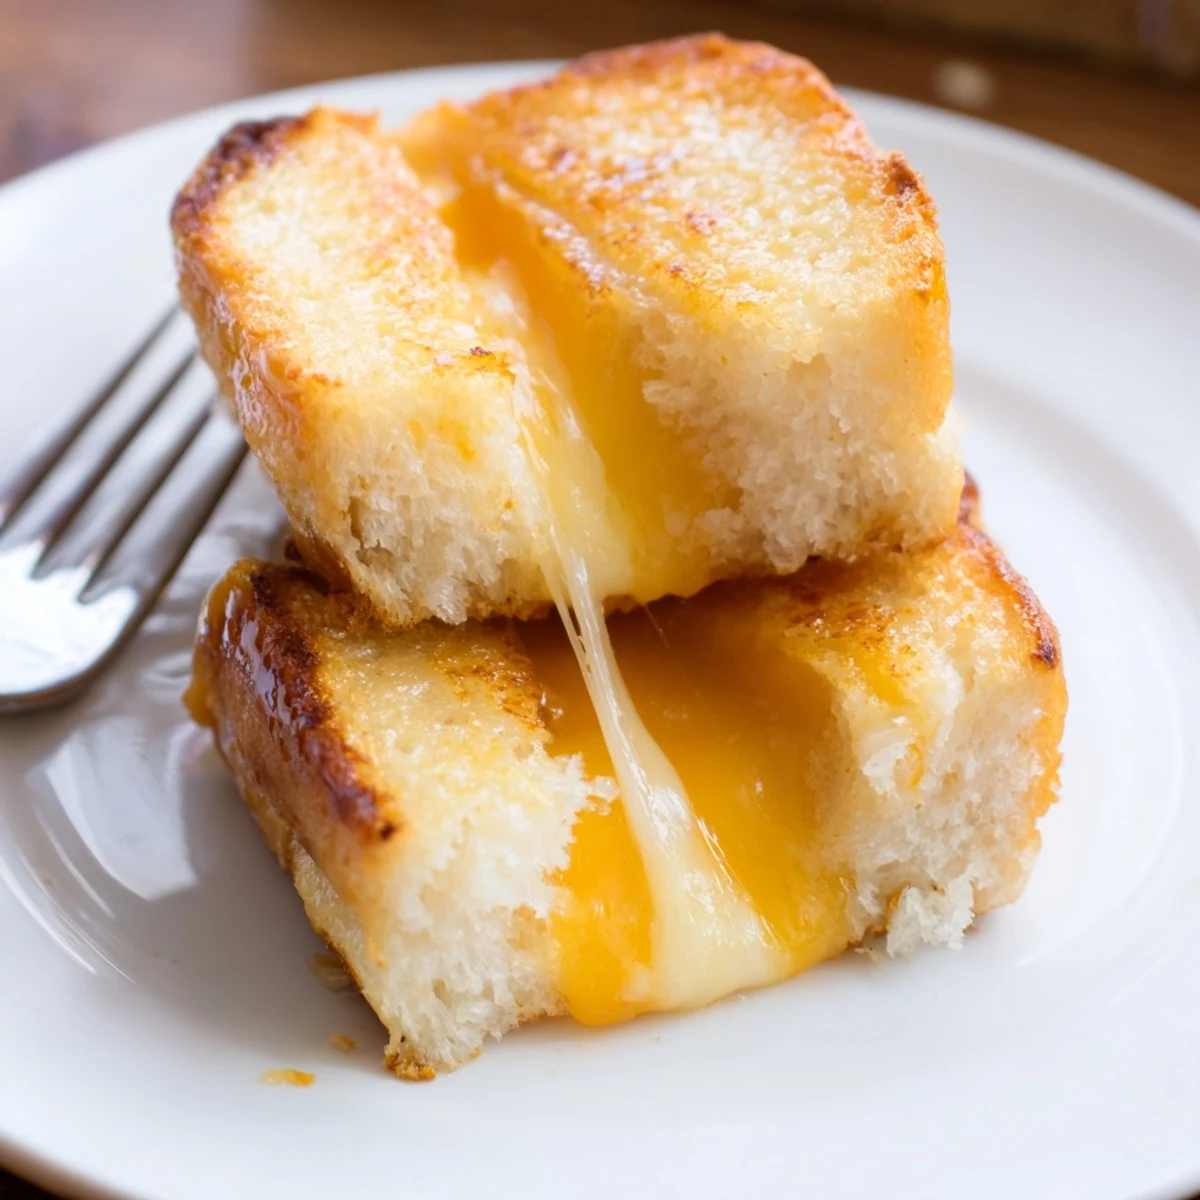
The first time I tossed together these mini grilled cheese Hawaiian rolls, the house filled with the kind of buttery warmth that instantly signals something good is underway. You know those moments when you just want food that's both playful and comforting—well, these little sandwiches surprisingly tick all the boxes. Pulling apart a sticky batch of Hawaiian rolls has a way of making you feel like a kid again, even before the cheese gets melty. There's a certain joy in recipes that don't take themselves too seriously.
On a rainy Saturday when my friends dropped by unannounced, I needed something cheerful but simple—these mini grilled cheese sandwiches totally saved the day. Seeing everyone gathered around the kitchen counter, snagging warm bites straight from the tray, made it feel more like an impromptu party than just an afternoon snack. There were laughs about whose cheese stretched the longest and playful debates on dipping sauces. It’s funny how the tiniest bites can bring out the most fun in people.
Ingredients
- Hawaiian sweet rolls: Their soft, pillowy texture and hint of sweetness balance out the sharpness of the cheese — slicing them as a block keeps assembly speedy and mess-free.
- Sliced cheddar cheese: Cheddar melts beautifully and its bold flavor anchors these bites, but and you can swap in other cheeses if you’re feeling adventurous.
- Unsalted butter, melted: This gets brushed on top for that golden finish and rich aroma—it also helps any optional toppings stick.
- Deli ham or turkey (optional): Perfect if you want to add a savory, meaty layer (leave it out for a vegetarian snack).
- Dijon or yellow mustard (optional): Whisked into the butter, it gives the tops an extra tangy zing.
- Honey (optional): For a gentle sweetness that pairs with the cheese and rolls.
- Garlic powder (optional): Sprinkle on top for a fragrant, savory crust.
Instructions
- Get the oven ready:
- Preheat your oven to 350°F (175°C) and toss a sheet of parchment on the baking tray for less hassle later.
- Slice the rolls:
- Use a serrated bread knife to slice the entire block of rolls horizontally—don’t separate them into singles yet as it keeps your filling tucked in neatly.
- Layer up:
- Lay the bottom half of the rolls on the tray, arrange the slices of cheddar evenly, then tuck in ham or turkey if you’re using it.
- Cap it off:
- Gently set the top half of the rolls over your cheesy stack, pressing down just slightly.
- Mix and brush the butter:
- Whisk together your melted butter with mustard, honey, and garlic powder if you like, then brush every roll top generously.
- Bake to perfection:
- Slide the tray in for 10–15 minutes, until the cheese bubbles and the tops turn a dreamy golden brown.
- Rest, slice, and serve:
- Let the tray sit for a minute or two (no burned fingers), then cut along the seams for perfect mini sandwiches—serve warm for the best cheese pull effect.
 Save to Pinterest
 One evening, making these for my nephew’s birthday, I watched as the adults circled back for seconds as eagerly as the kids. It was the kind of moment where everyone’s guard drops, and food steals the spotlight for all the right reasons.
Switch Up Your Fillings
Experimenting with cheeses like Swiss or pepper jack brings a fun new kick each time, and sneaking in thin slices of tomato or caramelized onions can totally transform the flavor profile. The kitchen sometimes ends up smelling like a grilled cheese shop, and there’s always space for tiny taste tests before serving.
Party-Ready in Minutes
If you stack everything on a lined baking sheet and assemble ahead, you can even pop them in the oven just before guests arrive. That way, everyone is greeted by fresh, gooey sandwiches and the house instantly feels more welcoming.
Getting the Best Results Every Time
A little patience makes a huge difference—don’t skip letting them rest before slicing to avoid a gooey mess on your fingers or the tray.
- Make sure your cheese covers to the edges for full melt in every bite.
- If you like a crunchy top, broil for 1 extra minute (but don’t walk away!)
- Always check the roll package for unexpected allergens if sharing.
 Save to Pinterest
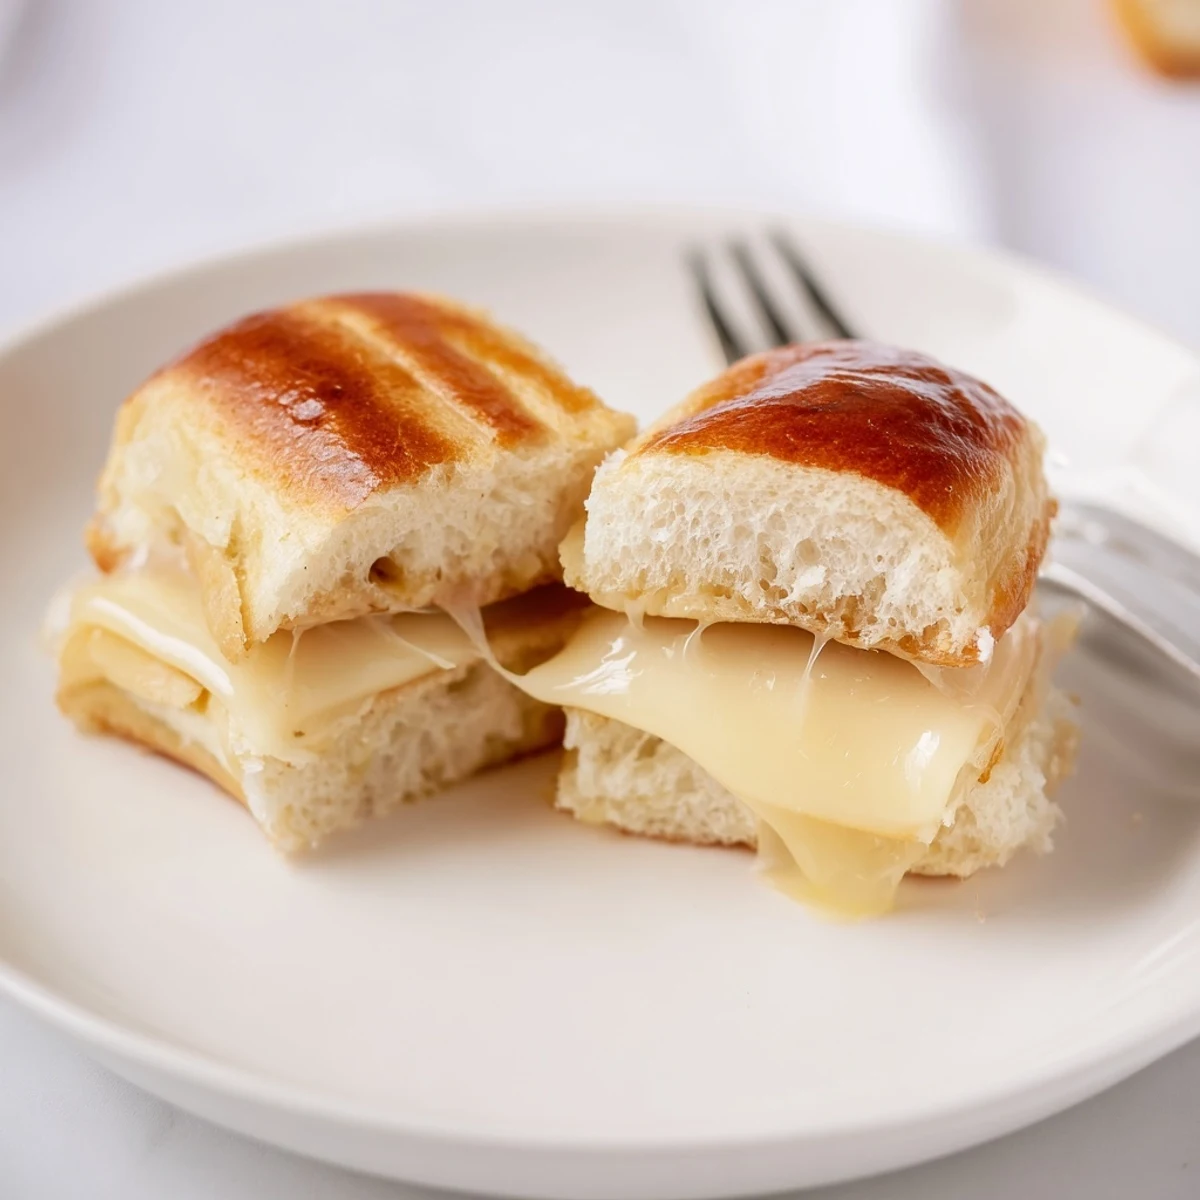
 There’s something about seeing a plate of these golden minis vanish that just never gets old. Share them warm and watch everyone’s mood lift, bite by gooey bite.
Recipe FAQs
- → What's the best cheese to use?
-
Cheddar gives a classic sharp melt, but Swiss, provolone, or pepper jack work well too. Choose a block-sliced cheese for even melting and easy layering.
- → Can I make these vegetarian?
-
Yes. Omit deli meats and stick with cheese and add-ins like sliced tomatoes, caramelized onions, or sautéed mushrooms for extra flavor and texture.
- → How do I keep the rolls from getting soggy?
-
Don’t overload with wet ingredients. Use a light glaze on top only, layer cheese directly against the bread, and bake until the tops are golden to help seal the loaf.
- → Can I prepare these ahead of time?
-
Assemble and refrigerate covered for a few hours before baking. For best texture, bake just before serving so the cheese is melty and the tops stay crisp.
- → How should leftovers be stored and reheated?
-
Store cooled sliders in an airtight container in the fridge for up to 2 days. Reheat in a 350°F oven until warmed through to retain crispness, or use a skillet over medium heat.
- → Any tips for glazing the tops?
-
Mix melted butter with a touch of mustard, honey, and garlic powder for a glossy, sweet-savory finish. Brush evenly and watch closely so the tops brown without burning.