 Save to Pinterest
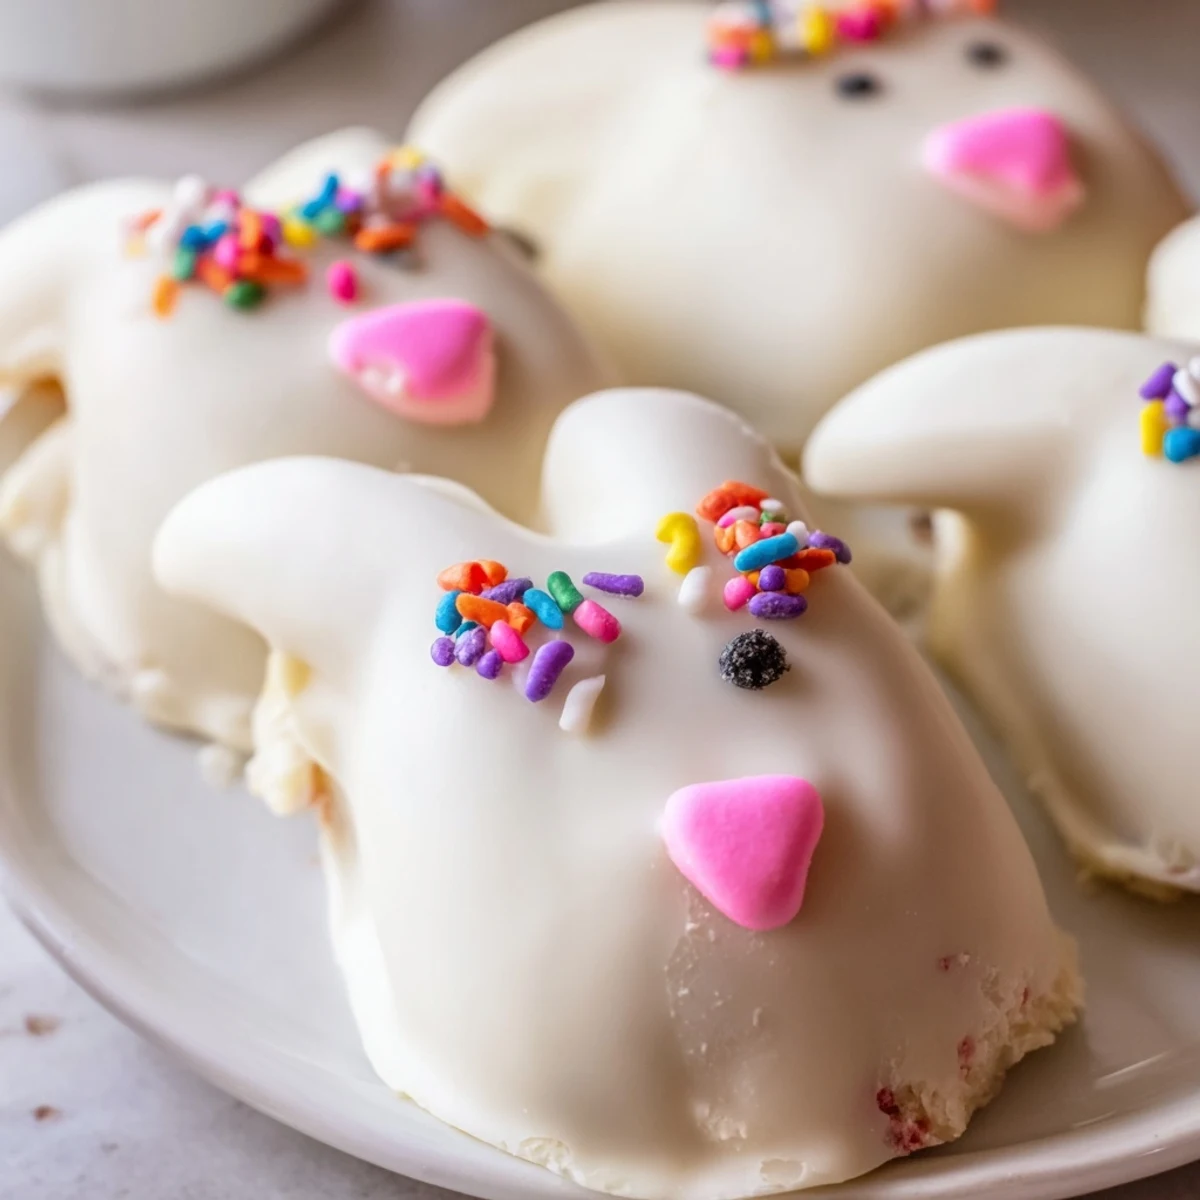
 These delightful bunny-shaped treats combine moist vanilla cake crumbs with creamy white chocolate coating, creating the perfect festive dessert for Easter celebrations. Simple to prepare and endlessly customizable with sprinkles, candy eyes, and colorful decorations, they bring joy to any spring gathering.
Last Easter, my kitchen became a makeshift cake pop factory after my niece declared regular cake boring for the holiday. These white chocolate bunny cakesicles saved the day. She literally jumped up and down when she saw the first one dipped and decorated.
I accidentally made the first batch too big and they kept toppling over in the chocolate. My sister and I ended up laughing so hard at the tragic fallen bunnies that we almost lost our appetite. That is how I learned the art of the perfect cakesicle size.
Ingredients
- Vanilla cake crumbs: I have used leftover birthday cake and boxed mix with equal success, just avoid anything too dry
- Cream cheese: Room temperature is nonnegotiable here or you will get frustrating lumps in your mixture
- Unsalted butter: Softened butter helps bind everything together without making the dough too greasy
- Powdered sugar: This little bit of sweetness balances the cream cheese tang perfectly
- Vanilla extract: Do not skip this, it makes the flavor taste bakery made instead of thrown together
- White chocolate: Real white chocolate tastes better but candy melts give you that flawless professional finish
- Edible gel food coloring: A tiny dot goes a long way for those cute pink bunny noses
- Cakesicle sticks: Paper sticks work but treat them gently, the wooden ones are sturdier for little hands
Instructions
- Mix the cake dough:
- Combine all cake ingredients in a bowl and mash with your hands until it holds together like playdough.
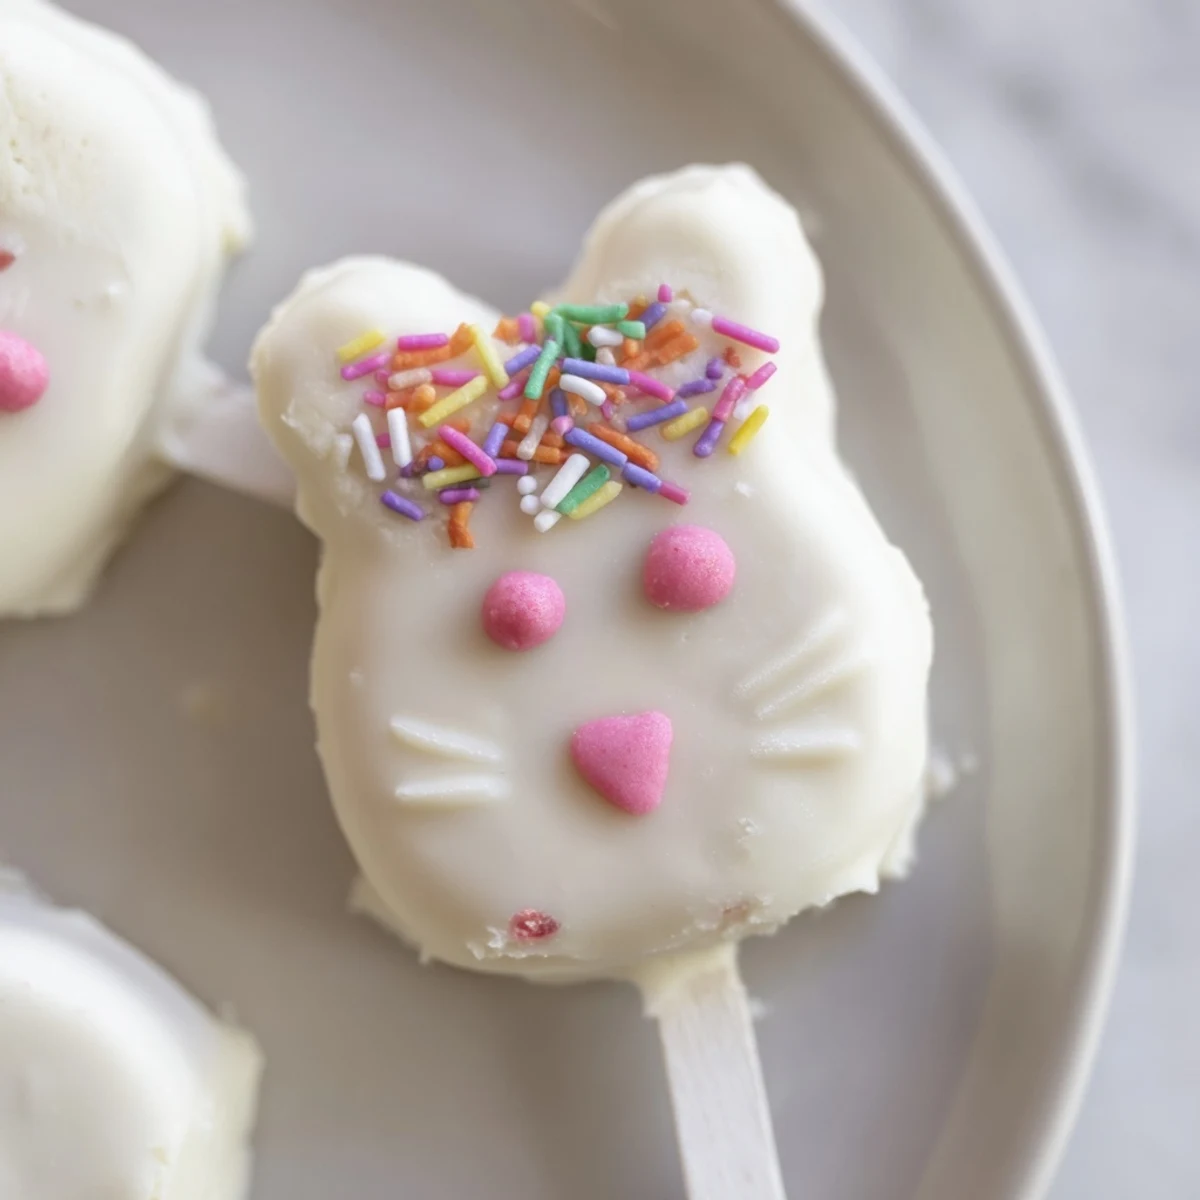
- Shape your bunnies:
- Form flattened oval shapes about the size of your palm and gently press sticks into the bottom third.
- Chill thoroughly:
- Refrigerate for at least 20 minutes because warm cake pops will slide right off the sticks in melted chocolate.
- Melt the coating:
- Microwave white chocolate in 30 second intervals, stirring between each, until completely smooth and fluid.
- Dip and tap:
- Submerge each cakesicle completely, lift straight up, and gently tap the stick against the bowl edge to remove excess coating.
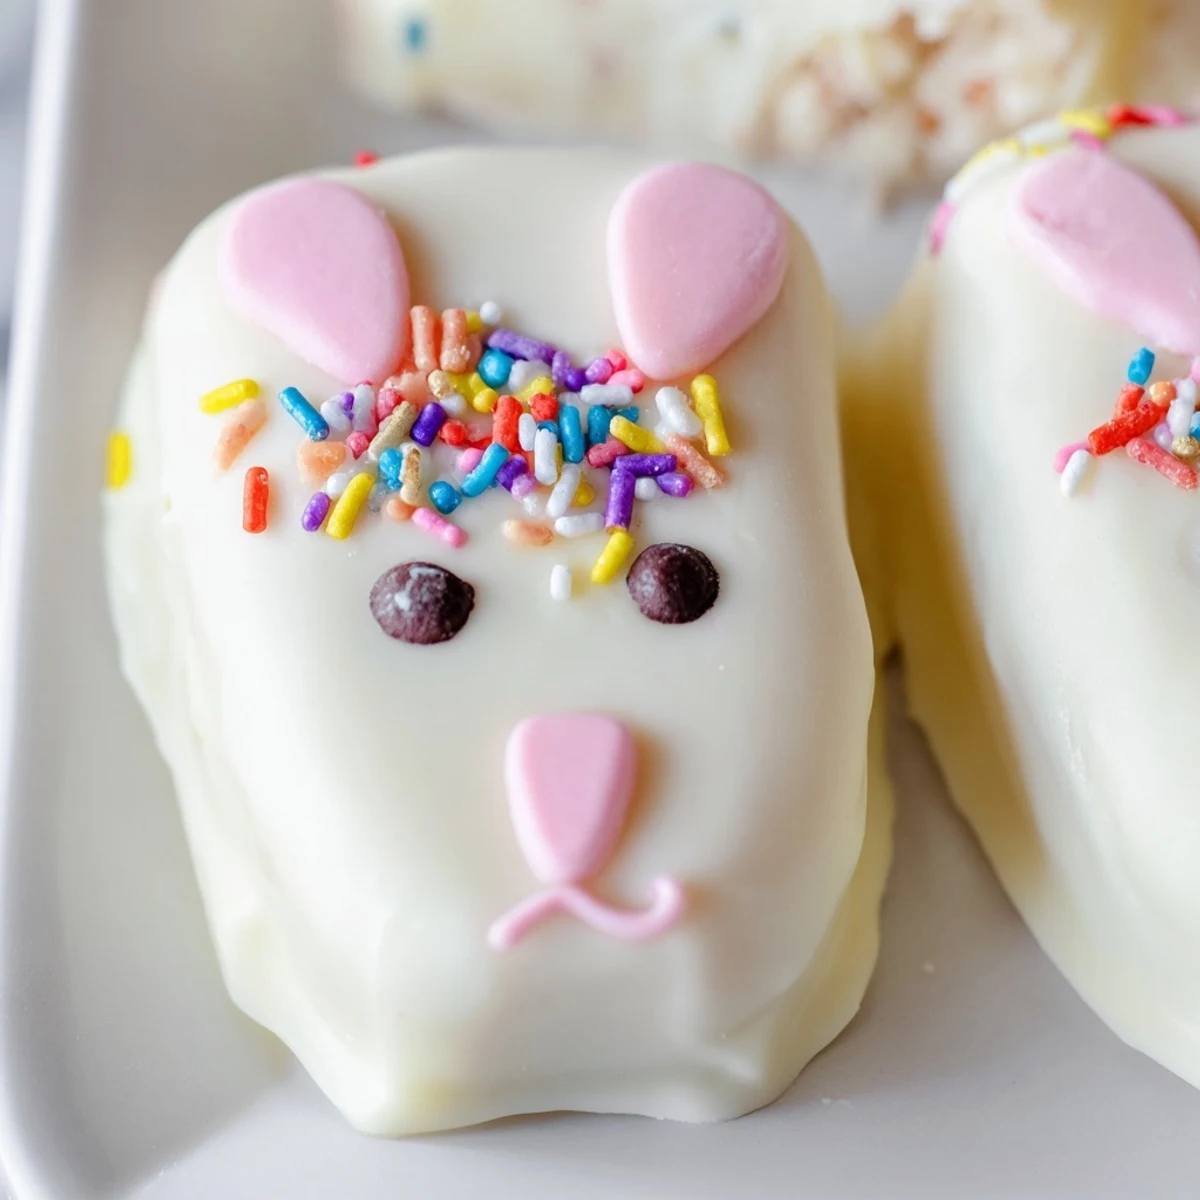
- Decorate quickly:
- Add candy eyes and sprinkles immediately while the chocolate is still wet or nothing will stick properly.
- Set completely:
- Let them dry at room temperature for about 20 minutes before wrapping or serving.
 Save to Pinterest
 My daughter now requests these for every school holiday and has started designing her own variations. Something about food on a stick makes regular dessert feel special.
Making Ahead
You can shape the cake mixture up to two days before dipping and store it in the refrigerator. Just let them come to room temperature for 10 minutes before coating to prevent condensation from making the chocolate seize up.
Flavor Variations
Chocolate cake crumbs with white chocolate coating is my absolute favorite combination. Lemon cake with pastel colored white chocolate works beautifully for spring baby showers too.
Presentation Ideas
I like to display them in a jar filled with Easter grass or individual clear treat bags tied with pastel ribbon. They look stunning arranged on a platter surrounded by actual decorated Easter eggs.
- Wrap individually if you plan to transport them anywhere
- Keep them refrigerated until serving time for best texture
- Have extra decorating supplies ready because kids always want to customize
 Save to Pinterest
 These bunny cakesicles have become our most requested Easter treat and I cannot imagine celebrating the holiday without them now.
Recipe FAQs
- → How long do these treats stay fresh?
-
Store in an airtight container in the refrigerator for up to 3 days. The coating stays firm and the filling remains moist and delicious.
- → Can I use different cake flavors?
-
Absolutely! Chocolate, lemon, red velvet, or any favorite cake flavor works wonderfully. Just crumb the baked cake and follow the same mixing process.
- → What if I don't have a cakesicle mold?
-
No problem! Hand-shape the mixture into flattened ovals or bunny faces. The mold creates uniform shapes, but free-form styling adds charming homemade character.
- → How do I prevent the chocolate from cracking?
-
Ensure the cake pops are chilled before dipping. Melt chocolate slowly in short bursts, stirring thoroughly. Avoid overheating as this causes seizing and cracks.
- → Can I make these ahead for Easter?
-
Yes! Prepare and decorate up to 2 days in advance. Store layered between parchment paper in an airtight container in the refrigerator. Add final touches like fresh sprinkles just before serving.
- → What other decorations work well?
-
Fondant ears and noses, candy eyes, edible glitter, colored drizzles, pretzel sticks for whiskers, or piped buttercream faces all create adorable bunny expressions.