 Save to Pinterest
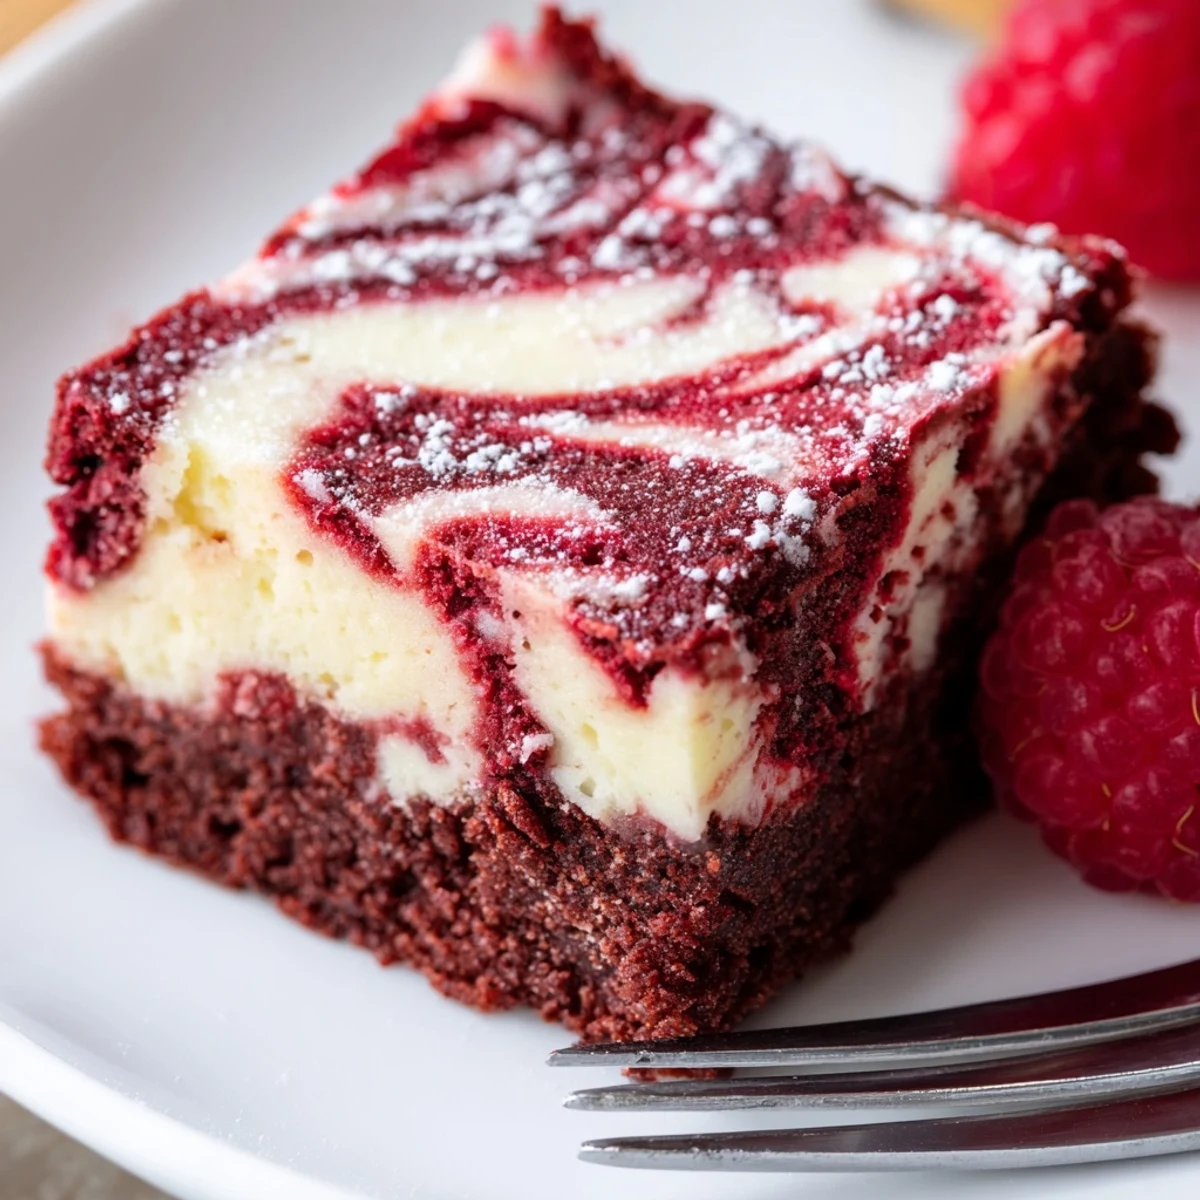
 Preheat oven to 175°C (350°F). Whisk melted butter and sugar until smooth, then beat in eggs, vanilla and red coloring. Sift in flour, cocoa and salt and fold gently to keep a fudgy crumb. Spread most batter in an 8-inch pan, pour a smooth cream cheese mixture on top, dollop remaining batter and swirl for a marbled finish. Bake 33–37 minutes until the center is set but still slightly soft. Cool fully in the pan, then chill at least 1 hour before slicing for clean squares and best texture.
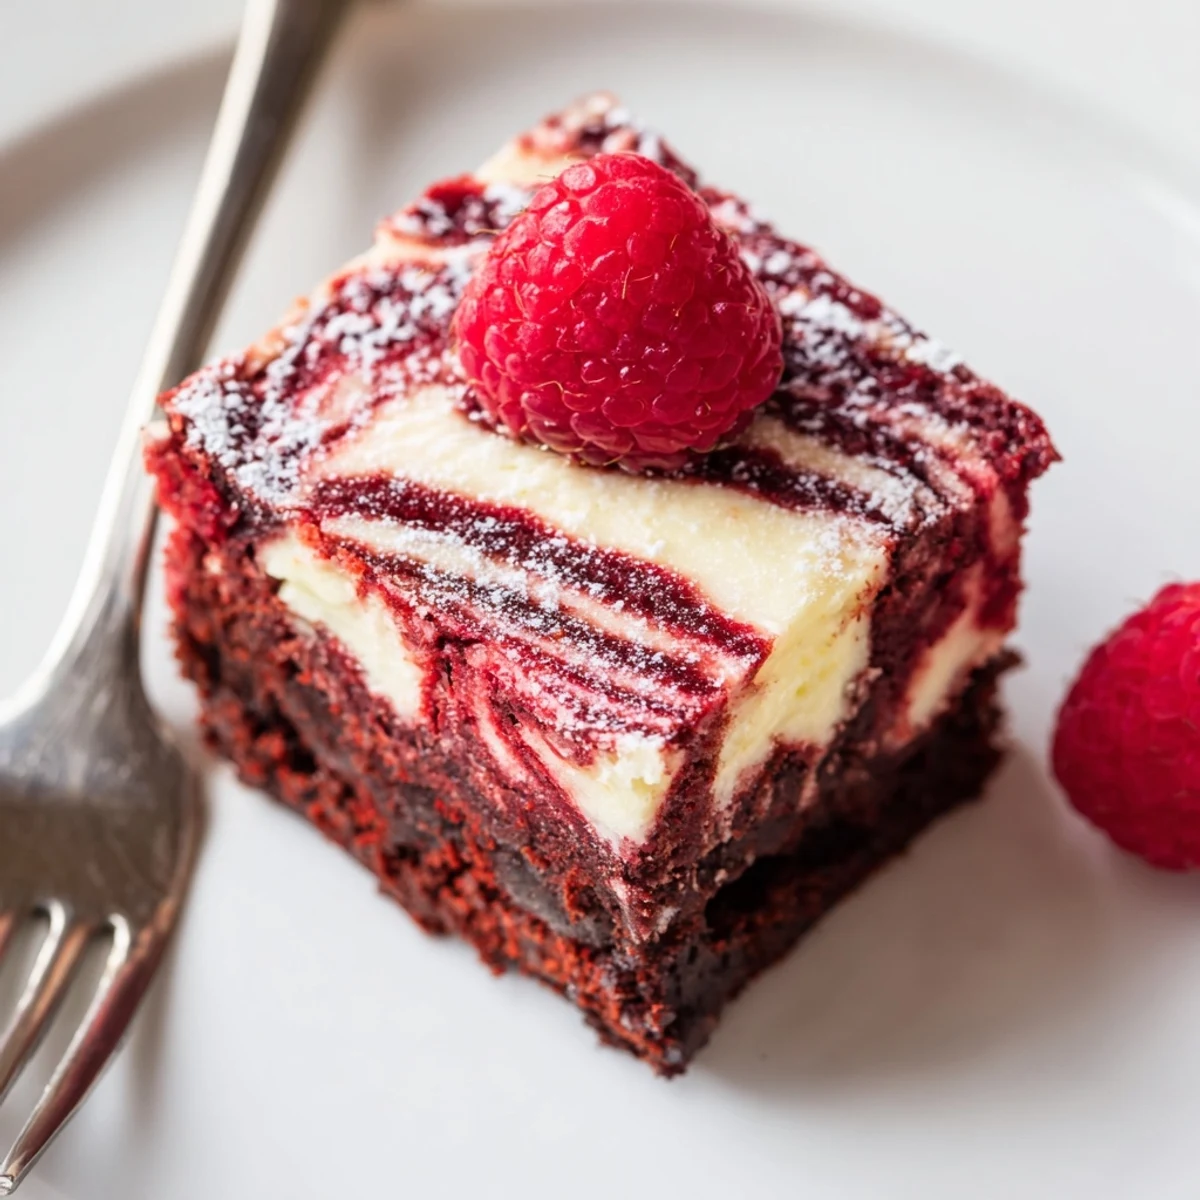
The first time I baked these Red Velvet Brownies With Cheesecake Layer, the kitchen came alive with buttery aromas and a slight tang of cocoa. I could hear my oven humming, and it was almost as if I was waiting for a magic trick to finish on stage. The excitement built as the marbled top began to set, and I kept sneaking peeks through the oven door. That crimson swirl on top always makes me smile.
I once brought these brownies to a late-night board game marathon, and people tried to guess what was in the creamy swirl. My sister, always the dessert detective, argued for hours over whether it was white chocolate or cream cheese until I finally let her in on the secret. Watching everyone pause their games to savor their brownie was a small victory. The plate never made it past the first hour.
Ingredients
- Unsalted butter: Melting it first gives that dense, fudgy texture brownies beg for—be sure to let it cool just slightly so the eggs don’t scramble.
- Granulated sugar: It’s what gives the brownie its shiny crackly top, so don’t skimp.
- Large eggs: Room temperature eggs blend more smoothly in both layers, leading to an even crumb.
- Vanilla extract: Don’t hold back—the vanilla rounds out the chocolate and cheesecake flavors beautifully.
- Red food coloring: The vivid red is all about the drama—use gel for intensity, but liquid works in a pinch.
- All-purpose flour: Sift it to avoid lumps; a light hand gives you tender brownies.
- Unsweetened cocoa powder: Just enough for that unmistakable red velvet taste—a Dutch-processed variety brings out a deeper color.
- Salt: Skip it and the brownies taste flat; just a pinch does wonders.
- Cream cheese: Let it reach room temperature for the smoothest cheesecake swirls.
Instructions
- Get Ready:
- Preheat your oven to 175°C (350°F) and line an 8-inch pan with parchment, letting the excess hang over for an easy lift.
- Mix the Red Velvet Base:
- In a bowl, whisk melted butter with sugar until it looks pale and glossy. Add eggs, vanilla, and red coloring—watch as the mixture turns hypnotically red—then stir gently.
- Sift and Fold:
- Sprinkle flour, cocoa, and salt in, and use a spatula to fold until just blended. Scrape 3/4 of the mixture into the pan, smoothing it into the corners.
- Blend the Cheesecake Magic:
- Beat cream cheese and sugar in a fresh bowl until it’s impossibly creamy, then add the egg and vanilla. Swirl until velvety.
- Layer It Up:
- Pour all the cheesecake batter over your red velvet base and spread it gently. Dollop the rest of the brownie batter in little puddles on top.
- Swirl and Bake:
- Drag a thin knife or skewer through the top layer to create marbled swirls, but don’t overdo it. Bake for 33 to 37 minutes until set at the center, with a few moist crumbs clinging to a toothpick.
- Cool and Chill:
- Let the pan cool on a rack, then refrigerate for at least an hour—a little patience goes a long way for perfect slices.
 Save to Pinterest
 The time we cut into a cool pan of these brownies on a rainy afternoon, my friend actually closed her eyes after the first bite. That was the moment I realized this dessert had gone from just a recipe to a mini ritual for cheering us all up. Somehow the cheesecake made the chocolate even richer, and the red velvet always looked cheerful, even on the gloomiest days.
Getting the Swirl Just Right
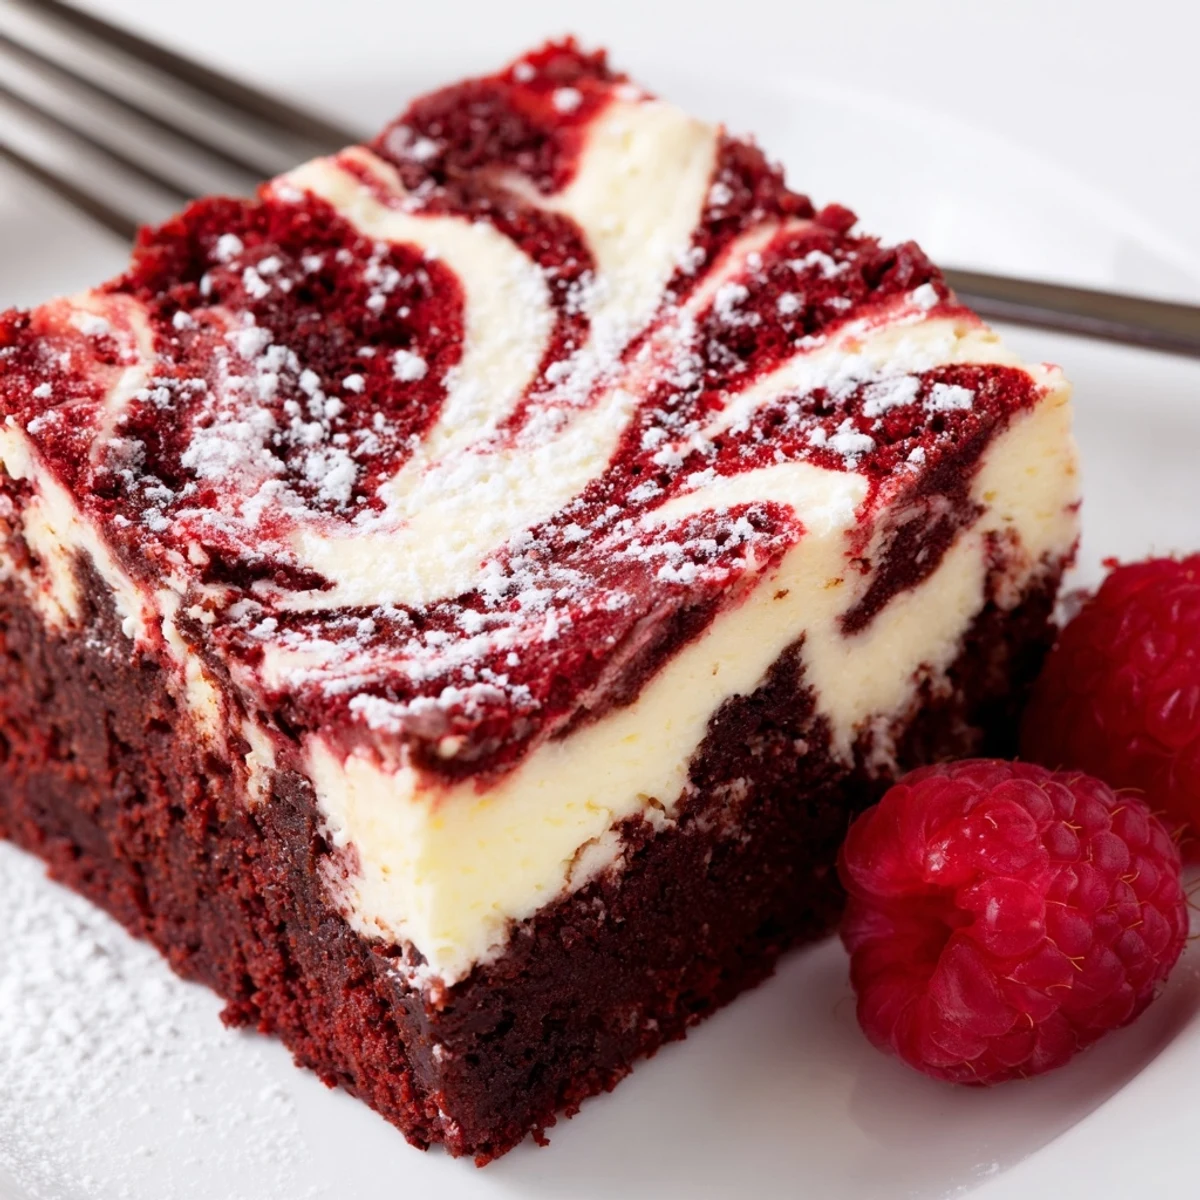
I used to rush the swirling step, but now I take a deep breath and use the tip of a skewer in a gentle side-to-side motion, almost grazing the surface. Too much swirling and you lose the sharp lines between cheesecake and brownie. If someone peeks over your shoulder and gasps at the pattern, you know you’ve done it right.
Serving and Storing Secrets
Slicing the brownies chilled is my favorite trick—they come out with sharp edges and layers that make people insist you got them from a bakery. Leftovers (if any) keep in a sealed container in the fridge for four days, but the texture is always best the day after baking. A dusting of powdered sugar or a side of strawberries elevates dessert with zero extra effort.
Troubleshooting and Final Touches
I’ve learned to check the brownies a few minutes before the timer is up: look for a few moist crumbs on the toothpick, not a bone-dry center. If the cheesecake starts to brown too soon, I gently lay a bit of parchment on top. Let the aroma in your kitchen guide you—when you can’t resist any longer, it’s usually ready.
- If your cream cheese isn’t room temp, microwaving in short bursts works in a pinch.
- Run your knife under hot water before every slice for pro-looking portions.
- Don’t forget: chilling makes or breaks this recipe.
 Save to Pinterest
 May your brownies be as rich and joyful as the best memories made around your table. Save yourself a middle piece—or two—they never last long.
Recipe FAQs
- → How can I tell when the center is done?
-
Insert a toothpick into the center; it should come out mostly clean with a few moist crumbs. The cheesecake layer should be set but still slightly soft to the touch — it will firms as it cools and chills.
- → Can I use gel food coloring instead of liquid?
-
Yes. Gel coloring delivers a more intense hue with less liquid added. Start with a small amount and increase until you reach the desired red tone to avoid thinning the batter.
- → What causes cracks in the cheesecake layer?
-
Overmixing the cheesecake batter or baking at too high a temperature can cause cracks. Mix until just smooth and bake at moderate heat. Cooling gradually and chilling before slicing helps minimize fractures.
- → Any tips for achieving a fudgy brownie texture?
-
Use melted butter and avoid overfolding flour to keep the batter dense and moist. Slightly underbaking (center set but still a bit soft) and chilling before slicing improves fudginess and clean cuts.
- → How should leftovers be stored?
-
Cover and refrigerate leftovers for up to 4 days to maintain texture and prevent the cheesecake layer from drying. Bring to room temperature for a few minutes before serving, or enjoy chilled.
- → Can I add mix-ins like chocolate chips?
-
Yes—fold chocolate chips into the brownie batter or sprinkle them over the base before adding the cheesecake layer for extra richness. Use mini chips to prevent sinking.