 Save to Pinterest
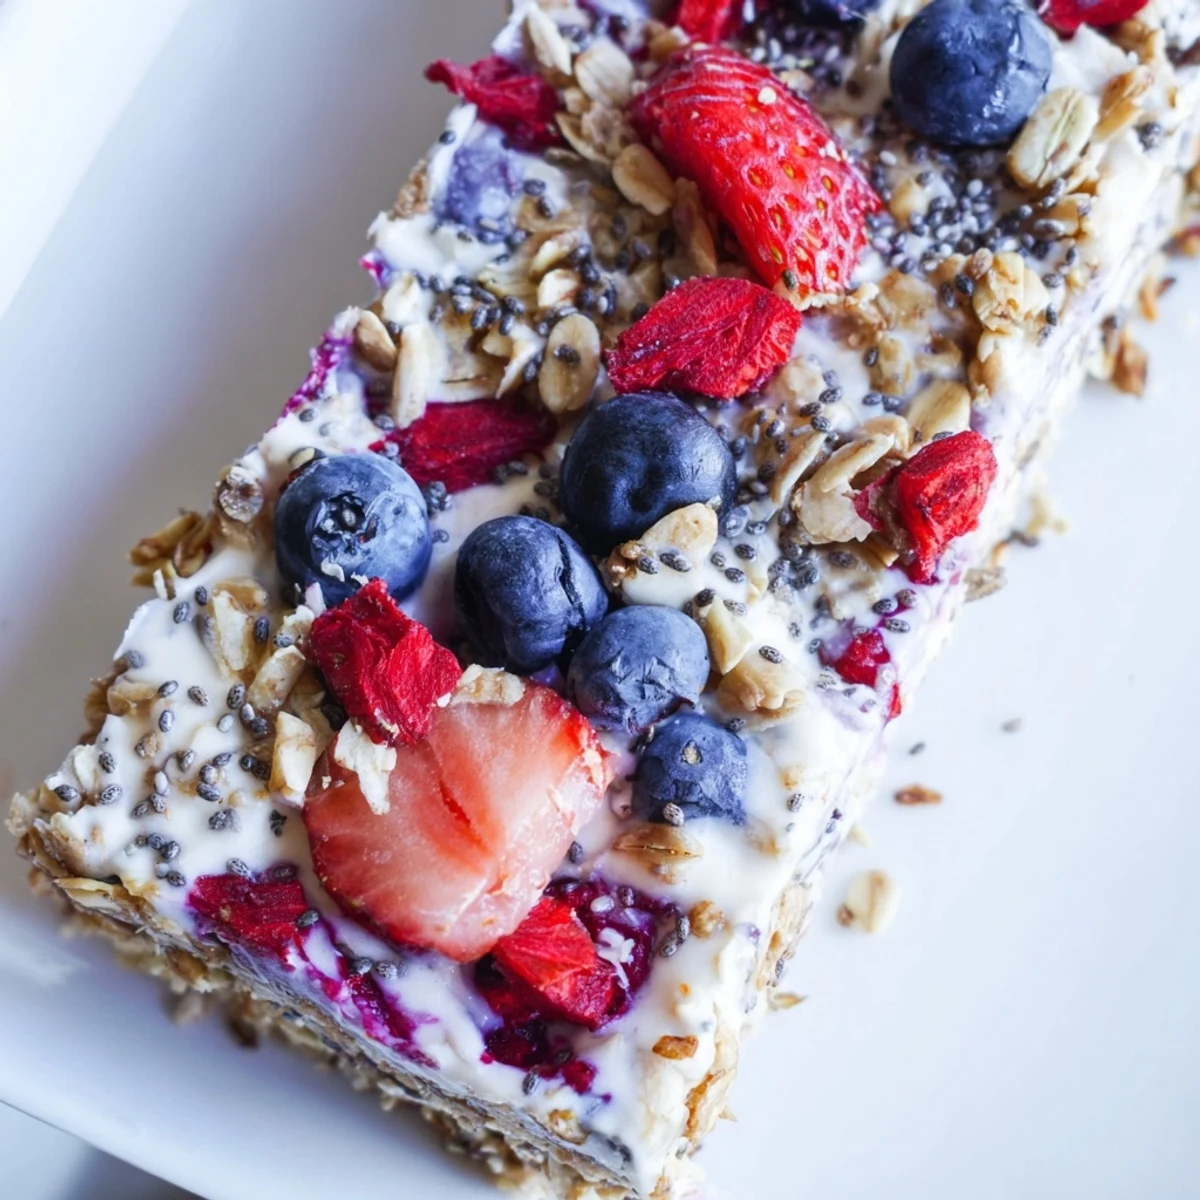
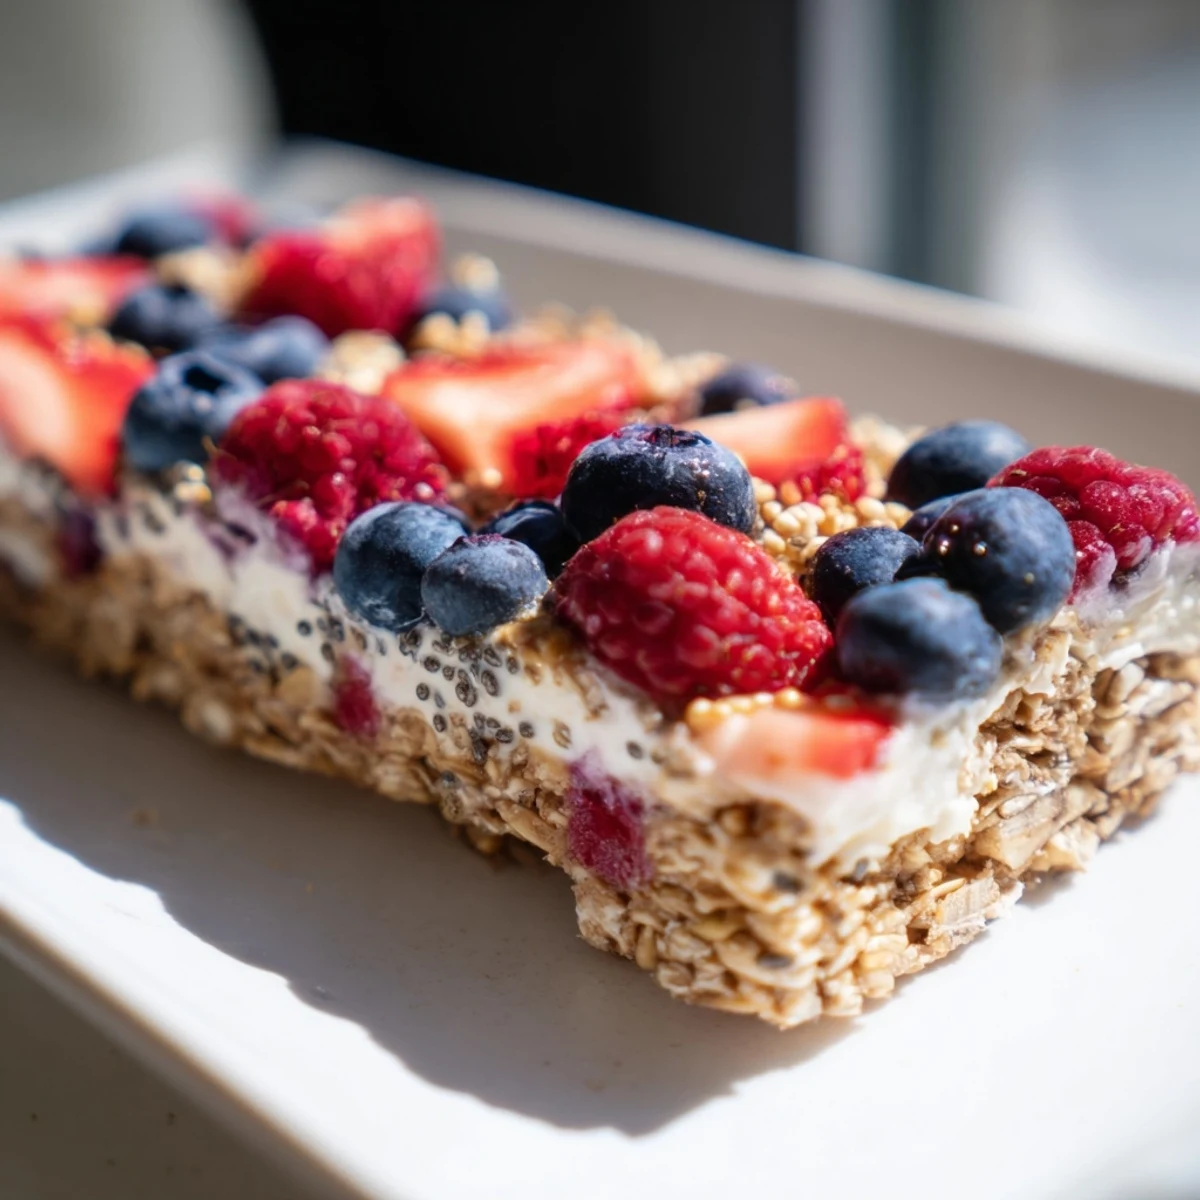
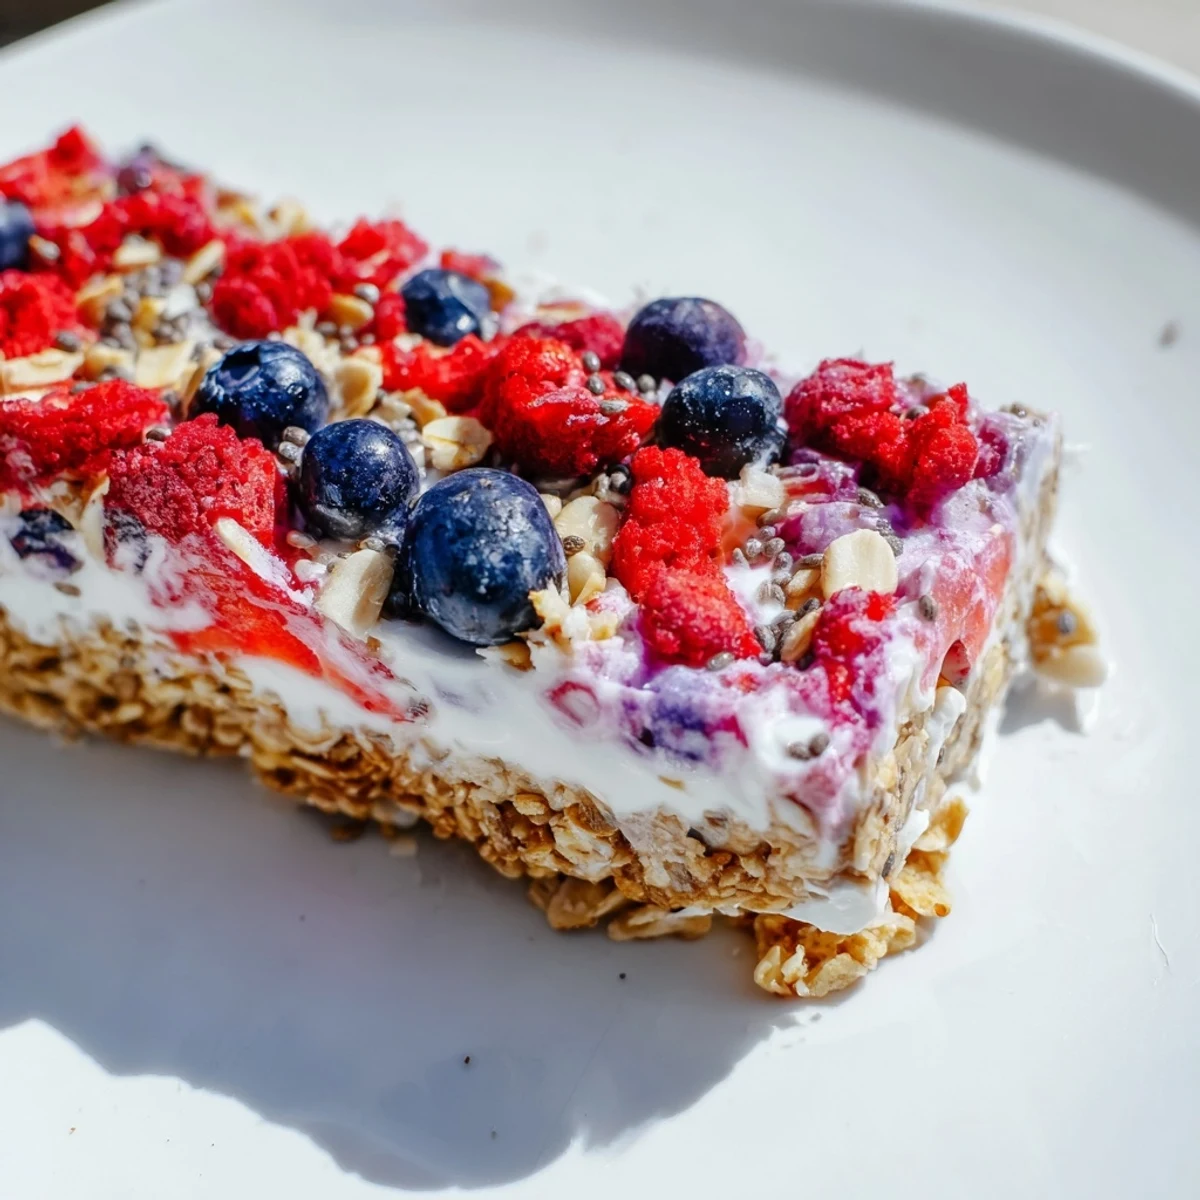
 Create these refreshing frozen treats by pressing a honey-sweetened granola base into a pan, spreading a smooth Greek yogurt layer infused with vanilla, and topping with colorful mixed berries. After freezing for four hours, slice into portable bars that offer the perfect balance of creamy, crunchy, and sweet. These no-bake bars stay fresh in the freezer for weeks, making them ideal for meal prep or sudden snack cravings.
My apartment radiator hissed through last July's heatwave while I stared at a sweltering oven I refused to turn on. That's when these frozen bars saved my summer afternoon, transforming pantry staples into something that felt like dessert but ate like breakfast.
My roommate walked in mid-assembly and asked why I was making breakfast at 8 PM. By midnight we were both eating them straight from the pan, frozen yogurt layering our fingers, debating whether they counted as breakfast, dessert, or both.
Ingredients
- 2 cups granola: Low sugar varieties prevent these from becoming candy bars, and the texture holds up beautifully when frozen
- 2 tbsp honey or maple syrup: The glue that transforms loose granola into a cohesive base that cuts cleanly
- 2 tbsp melted coconut oil: Solidifies in the cold to keep the base firm and sliceable
- 2 cups plain Greek yogurt: Thick and creamy enough to hold layers without becoming icy or crystalline
- 2-3 tbsp honey or agave syrup: Adjust based on how tart your yogurt is and how sweet you like your snacks
- 1 tsp pure vanilla extract: Don't skip this it pulls all the flavors together into something that tastes intentionally made
- 1 cup mixed fresh berries: Scatter them unevenly for some bites that burst with fruit and others that are pure creamy simplicity
- 1 tbsp chia seeds: Optional but they add this tiny crunch that makes each bar feel special
Instructions
- Prep your pan like you mean it:
- Crumple your parchment paper first so it conforms to the corners, then leave those overhangs long they're your handles later when everything's frozen solid.
- Build the foundation:
- Mix granola with honey and melted coconut oil until every cluster feels lightly coated, then press it into your prepared pan with all your might. Seriously, press hard a loose base crumbles when you slice.
- Whisk up the creamy layer:
- Combine your yogurt, sweetener, and vanilla until it's completely smooth and glossy. Taste it now this is your last chance to adjust the sweetness before freezing locks everything in.
- Layer it up:
- Spread the yogurt mixture over your pressed base like you're frosting a cake, going all the way to the edges. Toss those berries on top press them gently so they don't roll off.
- The hard part:
- Slide the pan into the freezer and walk away for at least four hours. The yogurt needs to set completely or you'll end up with semi-frozen mush instead of clean bars.
- The moment of truth:
- Use those parchment handles to lift the slab onto a cutting board. Wait five minutes before slicing this tiny thaw makes all the difference between clean cuts and a crumbled mess.
 Save to Pinterest
 Now they're the first thing I grab when friends drop by unexpectedly. There's something satisfying about pulling a homemade treat from the freezer that feels special but took fifteen minutes to assemble.
Making Them Your Own
I've swapped the berries for sliced peaches in August and used chopped dried fruit in winter. The formula holds because it's just cream, crunch, and something sweet on top.
Storage Secrets
Individual bars wrapped in parchment freeze beautifully for weeks. I keep a stash tucked behind the frozen peas for emergency breakfasts or late night cravings.
Serving Ideas
Sometimes I drizzle melted chocolate over the top before freezing because why not. Other times I crumble a bar over oatmeal when I need texture but not another bowl of plain granola.
- Let them sit two minutes before eating so the yogurt softens slightly
- Pair with hot coffee for the most perfect temperature contrast
- Double the batch if you're sharing these disappear faster than ice cream
 Save to Pinterest
 These started as a hot day solution and became my forever pantry staple. Sometimes the best recipes aren't cooked at all.
Recipe FAQs
- → Can I use regular yogurt instead of Greek yogurt?
-
Greek yogurt works best because its thicker texture holds the bars together better. Regular yogurt contains more water, which can make the final product icy and less creamy. If you only have regular yogurt, consider straining it through cheesecloth for a few hours to remove excess whey before using.
- → How long do these bars stay fresh in the freezer?
-
These frozen treats keep well for up to 2 months when stored in an airtight container with parchment paper between layers. For the best texture and flavor, enjoy within the first month.
- → What's the best way to slice these without cracking them?
-
Let the slab sit at room temperature for 5-10 minutes before slicing. Use a sharp knife dipped in warm water, wiping the blade clean between cuts. This technique creates clean, even bars without crumbling the edges.
- → Can I make these dairy-free?
-
Absolutely. Substitute coconut yogurt, almond milk yogurt, or any dairy-free Greek-style alternative for the traditional yogurt. Just check that your granola doesn't contain honey if you need a fully vegan version.
- → Do I need to thaw these before eating?
-
They're delicious straight from the freezer, but letting them sit for 2-3 minutes makes them slightly softer and easier to bite. However, don't leave them at room temperature too long or they'll lose their shape.
- → What other toppings can I add?
-
Try sliced almonds, shredded coconut, dark chocolate chips, or diced dried fruits like apricots and cranberries. A drizzle of melted peanut butter or nut butter between layers adds extra protein and richness.