 Save to Pinterest
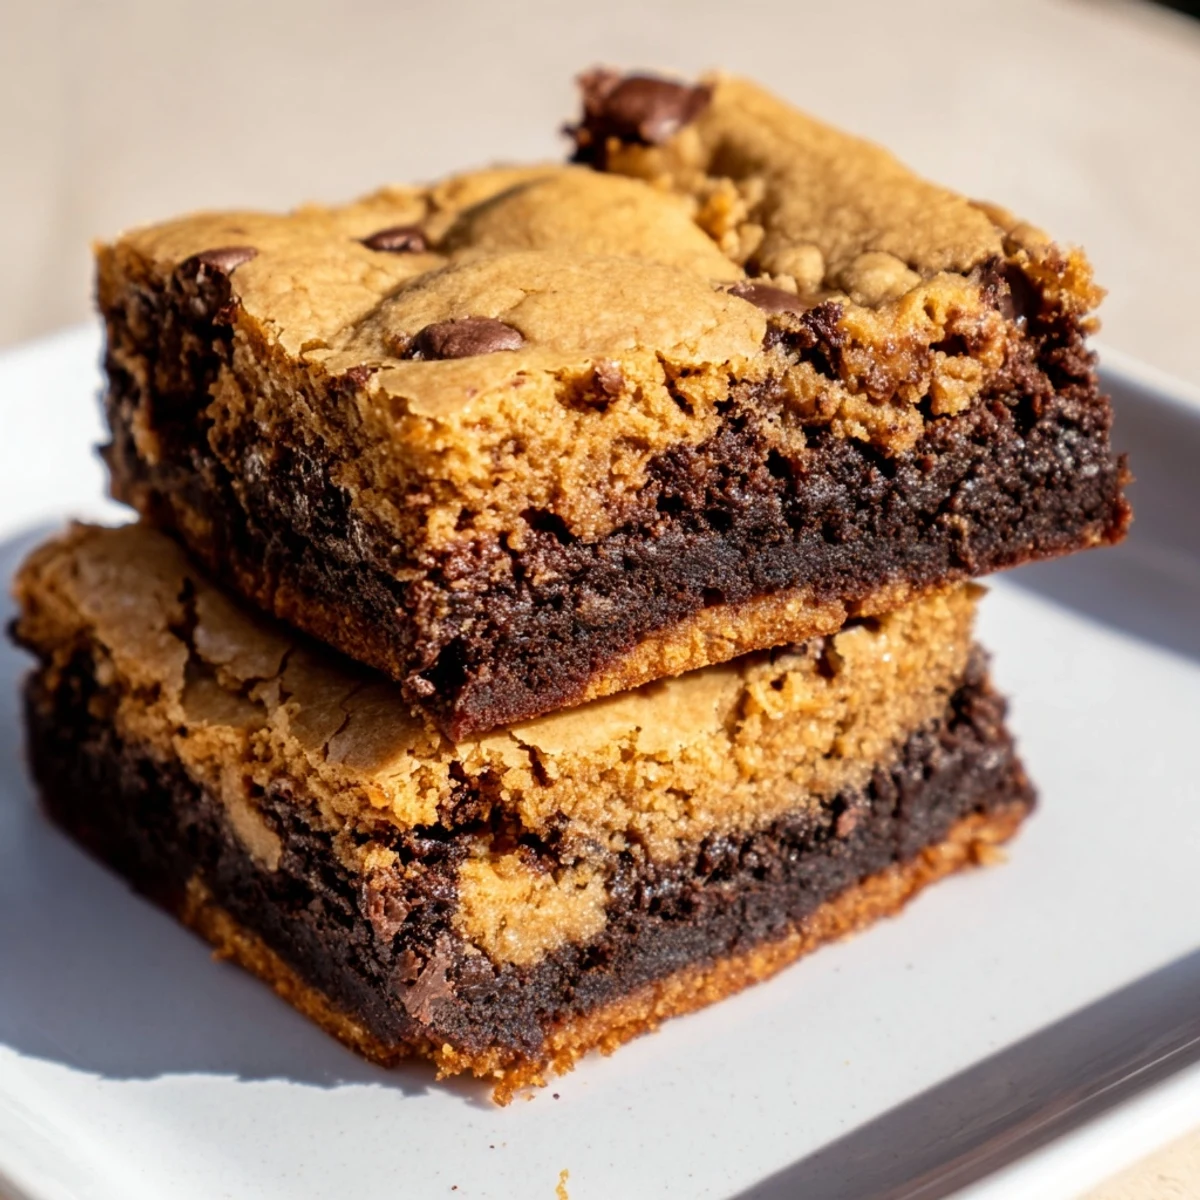
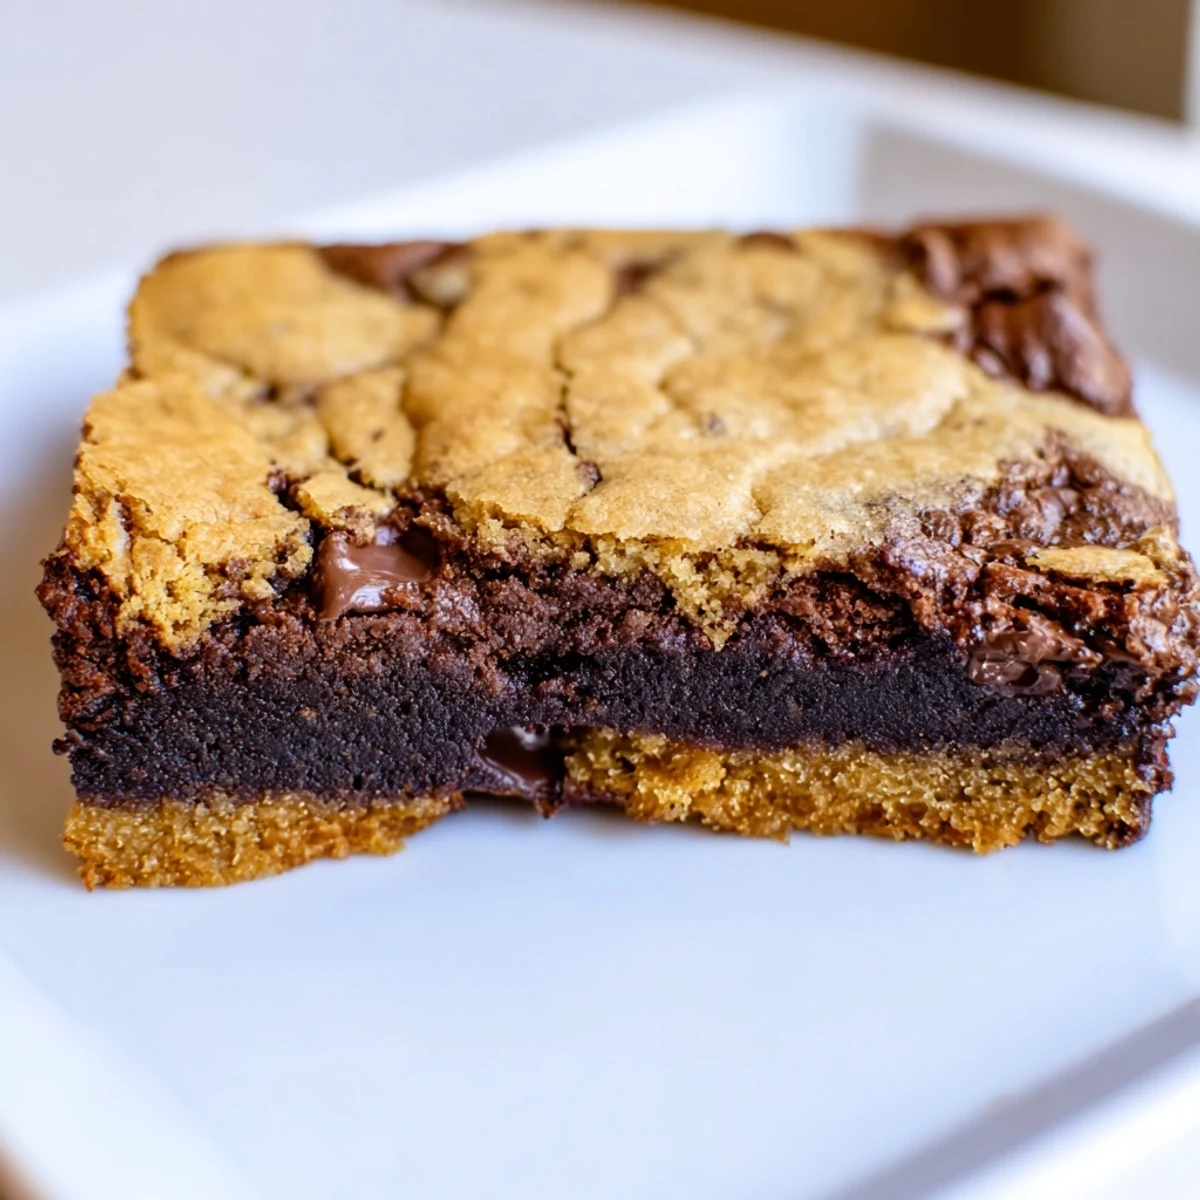
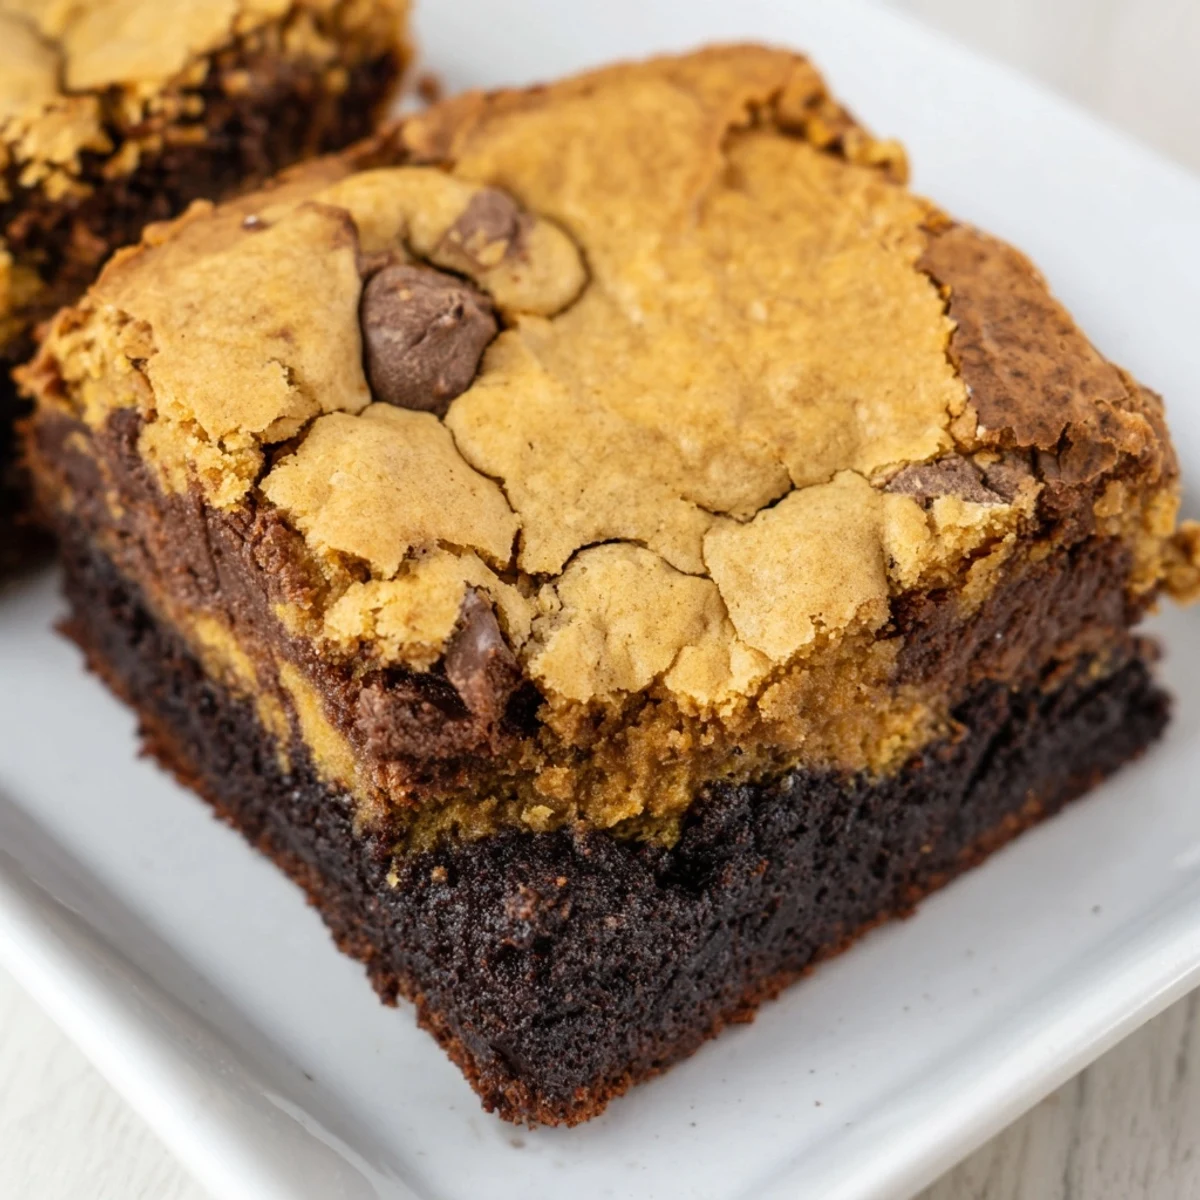
 Experience the best of both worlds with these double-layer vegan brookies, where rich fudgy brownies meet classic chewy chocolate chip cookies in every bite. This plant-based twist on the beloved hybrid treat features two distinct layers that bake together perfectly, creating contrasting textures and deep chocolate flavor throughout.
The brownie layer brings intense cocoa richness with a dense, fudgy consistency, while the cookie topping adds delightful chewiness and extra chocolate chips in every bite. Ready in just 55 minutes with simple pantry ingredients, these squares are perfect for gatherings, meal prep, or whenever dessert cravings strike. Serve them warm with vegan ice cream for the ultimate indulgence.
The first time I made brookies, I was vegan and skeptical anything could replicate that fudgy-crispy magic I remembered from childhood. I ended up eating three squares straight from the pan while they were still warm, proving myself wrong in the most delicious way possible.
Last summer I brought these to a Fourth of July barbecue where my uncle proudly announced he hates vegan desserts. He went back for seconds and asked for the recipe, which I consider my greatest cooking victory to date.
Ingredients
- 1 cup all-purpose flour: The foundation for a rich brownie base that holds together beautifully
- 1/2 cup unsweetened cocoa powder: Deep chocolate flavor without any dairy
- 1 cup brown sugar: Creates moisture and that irresistible fudgy texture
- 1/2 tsp baking powder: Just enough lift for the brownie layer to rise properly
- 1/4 tsp salt: Balances and intensifies the chocolate flavor
- 1/2 cup melted coconut oil: Adds richness and keeps the brownies ultra moist
- 1/4 cup plant milk: Helps bring the batter together without any dairy
- 1 tsp vanilla extract: Always use pure vanilla for the best flavor
- 1/2 cup vegan dark chocolate chips: Melts into pockets of pure chocolate bliss
- 1 1/4 cups all-purpose flour: For the cookie layer structure
- 1/2 tsp baking soda: Gives the cookie layer its signature spread
- 1/4 tsp salt: Essential for that cookie flavor we all love
- 1/2 cup vegan butter: Creamed with sugars for that perfect cookie texture
- 1/2 cup brown sugar and 1/4 cup granulated sugar: The combination creates chewy edges and soft centers
- 1/4 cup plant milk: Helps bind the cookie dough
- 1 tsp vanilla extract: Do not skip this, it makes all the difference
- 3/4 cup vegan chocolate chips: More is always better when it comes to chocolate
Instructions
- Get your oven ready:
- Preheat to 350°F and line an 8x8 inch pan with parchment paper so nothing sticks
- Make the brownie batter:
- Whisk flour, cocoa, brown sugar, baking powder, and salt until combined then stir in melted coconut oil, plant milk, and vanilla until just combined
- Add chocolate to the brownie layer:
- Fold in half cup chocolate chips and spread the batter evenly in your prepared pan
- Prepare the cookie dough:
- Cream vegan butter with both sugars until fluffy then mix in plant milk and vanilla before adding flour, baking soda, and salt
- Finish the cookie layer:
- Fold in the remaining chocolate chips and carefully spread this dough over the brownie layer using wet hands if needed
- Bake to perfection:
- Bake for 30 to 35 minutes until golden on top and a toothpick comes out with moist crumbs
- Let them cool completely:
- This is the hardest part but waiting ensures clean slices and lets flavors meld together
 Save to Pinterest
 My roommate once tried to cut these while they were still warm and ended up with a delicious mess on a plate. Now we laugh about it every time I make them, but she waits patiently for them to cool.
Making Them Your Own
I have discovered that adding chopped walnuts to the brownie layer takes these to another level entirely. The crunch against the fudgy chocolate creates such a satisfying texture.
The Vegan Butter Secret
Not all vegan butters behave the same way in baking. I have found that brands with more oil content create a chewier cookie while starch-heavy butters yield a cakier result, so choose based on your preference.
Storage and Serving
These actually taste even better the next day as the flavors meld together. Store them in an airtight container at room temperature for up to five days, though they rarely last that long in my house.
- Warm individual squares in the microwave for 15 seconds before serving
- Serve with vegan vanilla ice cream for the ultimate dessert experience
- These freeze beautifully for up to three months if wrapped well
 Save to Pinterest
 Every time I bake these, the kitchen fills with such an incredible chocolate aroma that my family gathers around before they are even out of the oven. That moment when everyone reaches for a warm square together is exactly why I love sharing food.
Recipe FAQs
- → What makes brookies different from regular brownies or cookies?
-
Brookies combine the best elements of both treats in one dessert. The brownie layer provides dense, fudgy richness with intense chocolate flavor, while the cookie layer adds chewy texture and classic chocolate chip cookie taste. This creates two distinct textures and flavors in every bite.
- → Can I make these brookies gluten-free?
-
Yes, substitute the all-purpose flour with a 1:1 gluten-free flour blend in both layers. The texture may vary slightly depending on the blend used, but the result will still be delicious. Ensure all other ingredients, especially baking powder and chocolate chips, are certified gluten-free.
- → How do I know when the brookies are done baking?
-
The brookies are ready when the top cookie layer is golden brown and a toothpick inserted in the center comes out with a few moist crumbs. Avoid overbaking, as this will dry out both layers. The centers should still feel slightly soft when removed from the oven.
- → Can I prepare the layers ahead of time?
-
You can prepare both batters separately and refrigerate them for up to 24 hours before baking. Let the cookie dough come to room temperature for about 15 minutes before spreading over the brownie layer, as cold dough will be difficult to spread evenly.
- → What's the best way to cut clean squares?
-
Allow the brookies to cool completely in the pan before slicing. For the cleanest cuts, chill the pan in the refrigerator for 1-2 hours, then use a sharp knife warmed with hot water. Wipe the knife clean between cuts for perfect edges.
- → How should I store these brookies?
-
Store in an airtight container at room temperature for up to 3 days, or refrigerate for up to a week. For longer storage, wrap individual squares tightly and freeze for up to 3 months. They can be enjoyed cold or gently warmed in the microwave.