 Save to Pinterest
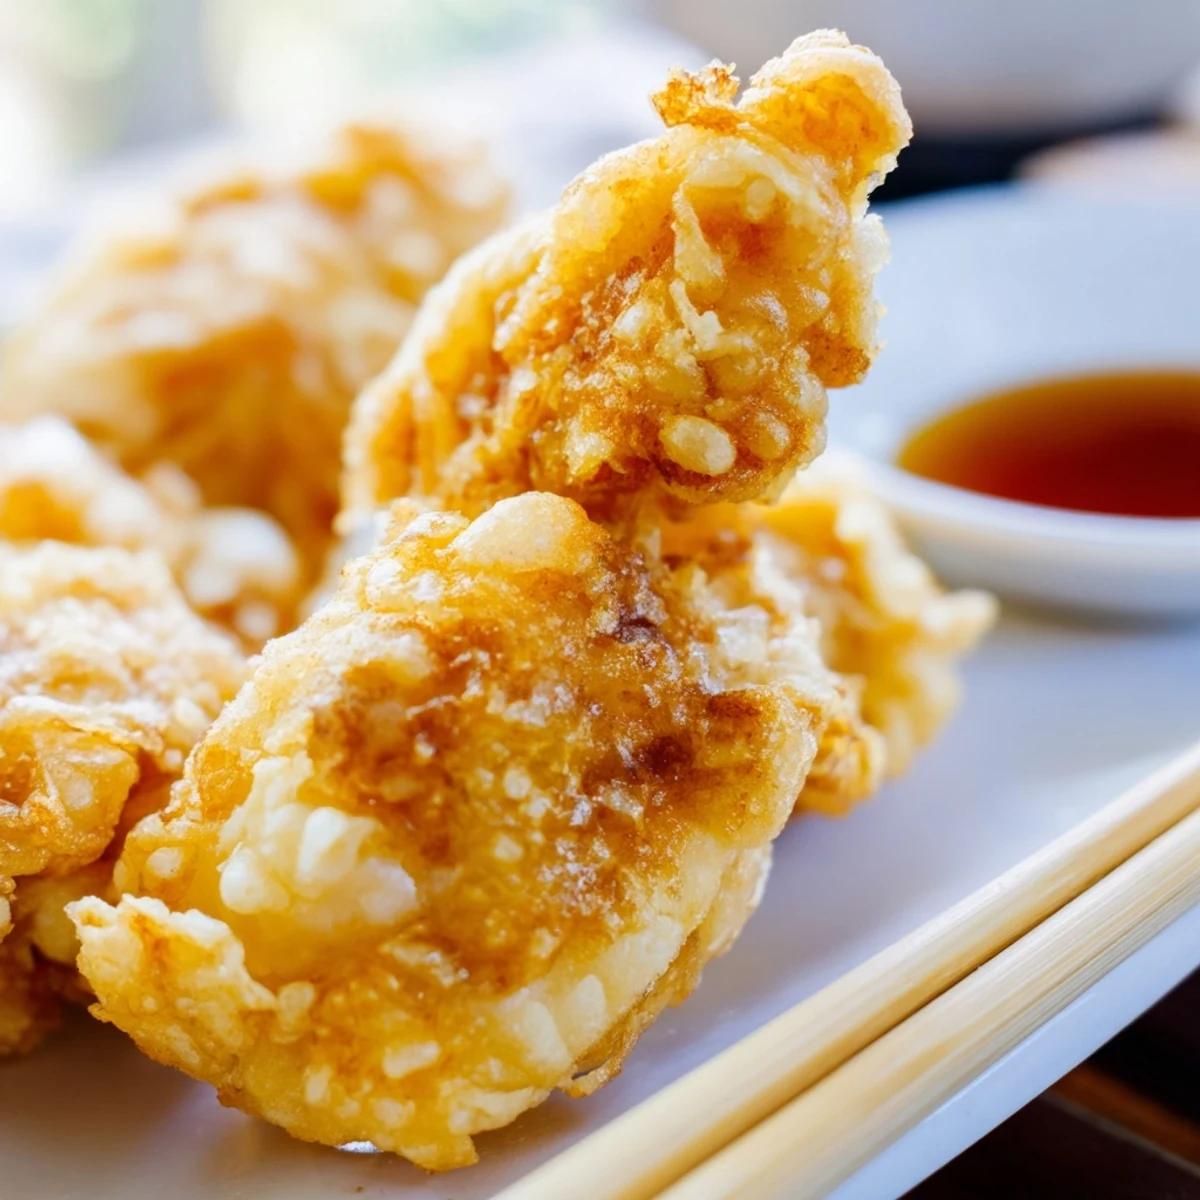
 Transform simple chicken breasts into restaurant-quality crispy tempura with this authentic Japanese technique. The secret lies in the ice-cold sparkling water batter, creating that signature light and airy crunch. Ready in just 35 minutes, these golden strips pair perfectly with a sweet and tangy ginger-soy dipping sauce. Keep your batter cold and work quickly for maximum crispiness.
The first time I attempted tempura at home, I ended up with a kitchen full of smoke and chicken that tasted like burnt oil. My Japanese neighbor laughed when I told her about my disaster, then taught me that the secret wasnt some ancient technique, it was just keeping everything ridiculously cold.
Last summer I made this for a dinner party and my friend Sarah, who claims she hates fried food, ate five pieces before even sitting down. Now she requests it every time she comes over.
Ingredients
- 500 g boneless chicken breasts: Cutting these into strips while they are slightly frozen makes them so much easier to handle and they cook more evenly
- Salt and pepper: Do not skip this simple seasoning step, it makes all the difference in the final flavor
- 120 g all-purpose flour: The protein content in regular flour helps create that signature tempura texture we are after
- 30 g cornstarch: This is the secret ingredient that makes the batter extra crispy and keeps it light
- 1 large egg: Room temperature egg incorporates better with the water, creating a more cohesive batter
- 180 ml ice-cold sparkling water: The carbonation creates those beautiful air bubbles in the batter and the cold temperature prevents gluten development
- 1/2 tsp baking powder: This gives the batter that extra lift and helps maintain crunchiness even after it cools slightly
- 1 liter vegetable oil: Use a neutral oil with a high smoke point, canola or peanut oil both work beautifully
- 60 ml soy sauce: This forms the base of our dipping sauce, adding that essential umami flavor
- 60 ml mirin: The sweetness balances the salty soy sauce perfectly and creates a glossy finish
- 1 tbsp rice vinegar: Adds a subtle brightness that cuts through the richness of the fried chicken
- 1 tbsp sugar: Just enough to round out the flavors without making the sauce cloyingly sweet
- 1 tsp grated fresh ginger: Fresh ginger brings a gentle warmth that complements the light tempura
Instructions
- Prepare the chicken:
- Cut the chicken into strips about 1 x 5 cm and pat them completely dry with paper towels. Season generously with salt and pepper on all sides.
- Mix the dry ingredients:
- Whisk together the flour, cornstarch, and baking powder in a large bowl until well combined. Make sure there are no lumps remaining.
- Prepare the wet mixture:
- Lightly beat the egg in a separate bowl, then stir in the ice-cold sparkling water just until combined.
- Make the batter:
- Pour the wet mixture into the dry ingredients and stir briefly with chopsticks. Leave it slightly lumpy and do not overmix.
- Heat the oil:
- Heat the vegetable oil in a deep pan to 175°C. Test the temperature by dripping in a small amount of batter, it should sizzle immediately and rise to the surface.
- Coat the chicken:
- Dip each chicken strip into the batter, letting excess drip off. Work quickly to keep the batter cold.
- Fry the chicken:
- Carefully add chicken to the hot oil in small batches. Fry for 3 to 4 minutes until golden and crisp, turning once halfway through.
- Drain and rest:
- Transfer cooked chicken to a wire rack. Do not use paper towels as this can make the coating soggy.
- Make the dipping sauce:
- Combine all sauce ingredients in a small saucepan. Heat gently until sugar dissolves, then let cool completely.
- Serve immediately:
- Arrange the chicken tempura on a platter with the dipping sauce on the side while everything is still hot and crispy.
 Save to Pinterest
 My daughter helped me make this last weekend and she was so proud when her first batch came out perfectly golden. Now she asks to help with the frying every time.
Getting the Perfect Crunch
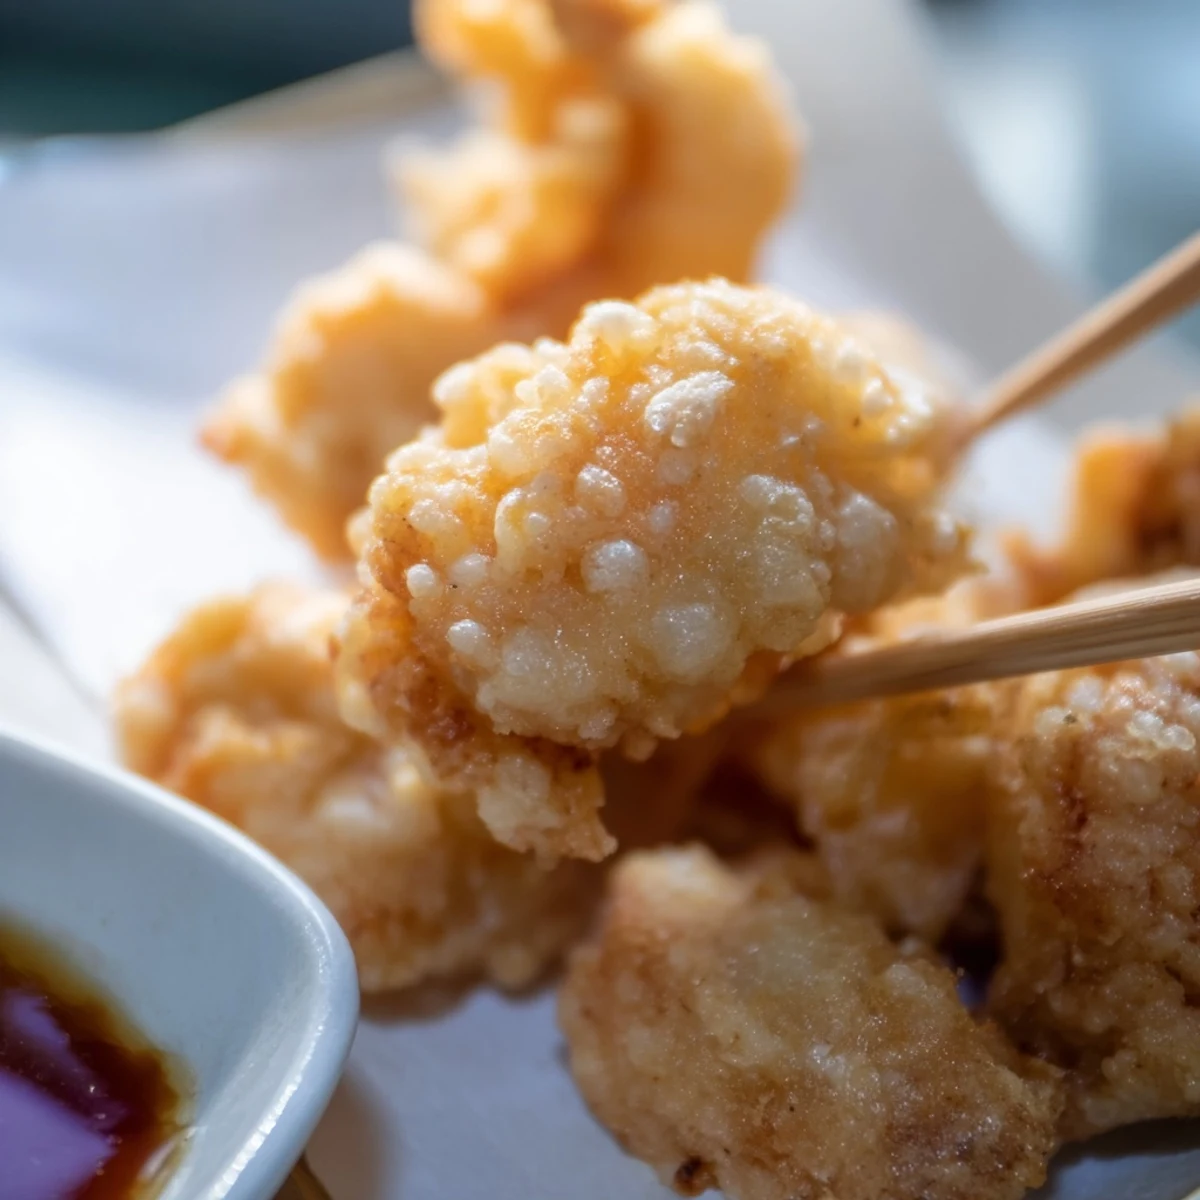
Keeping your batter ice cold is non-negotiable. I even put my mixing bowl in the freezer for 10 minutes before starting. The temperature difference between cold batter and hot oil is what creates those incredible airy bubbles.
Making It Your Own
While chicken is wonderful, this batter works beautifully with shrimp, sweet potato slices, or even green beans. The key is cutting everything into similar sizes so they cook evenly.
Serving Suggestions
A simple bowl of steamed rice and some quick pickled cucumbers turn this into a complete meal. The contrast between hot crispy chicken and cool tangy vegetables is absolutely perfect.
- Set up your dipping station with sauce, extra salt, and maybe some chili flakes for those who like heat
- Have everything ready before you start frying because tempura waits for no one
- Keep the cooked pieces warm in a 200°F oven if you are making a large batch
 Save to Pinterest
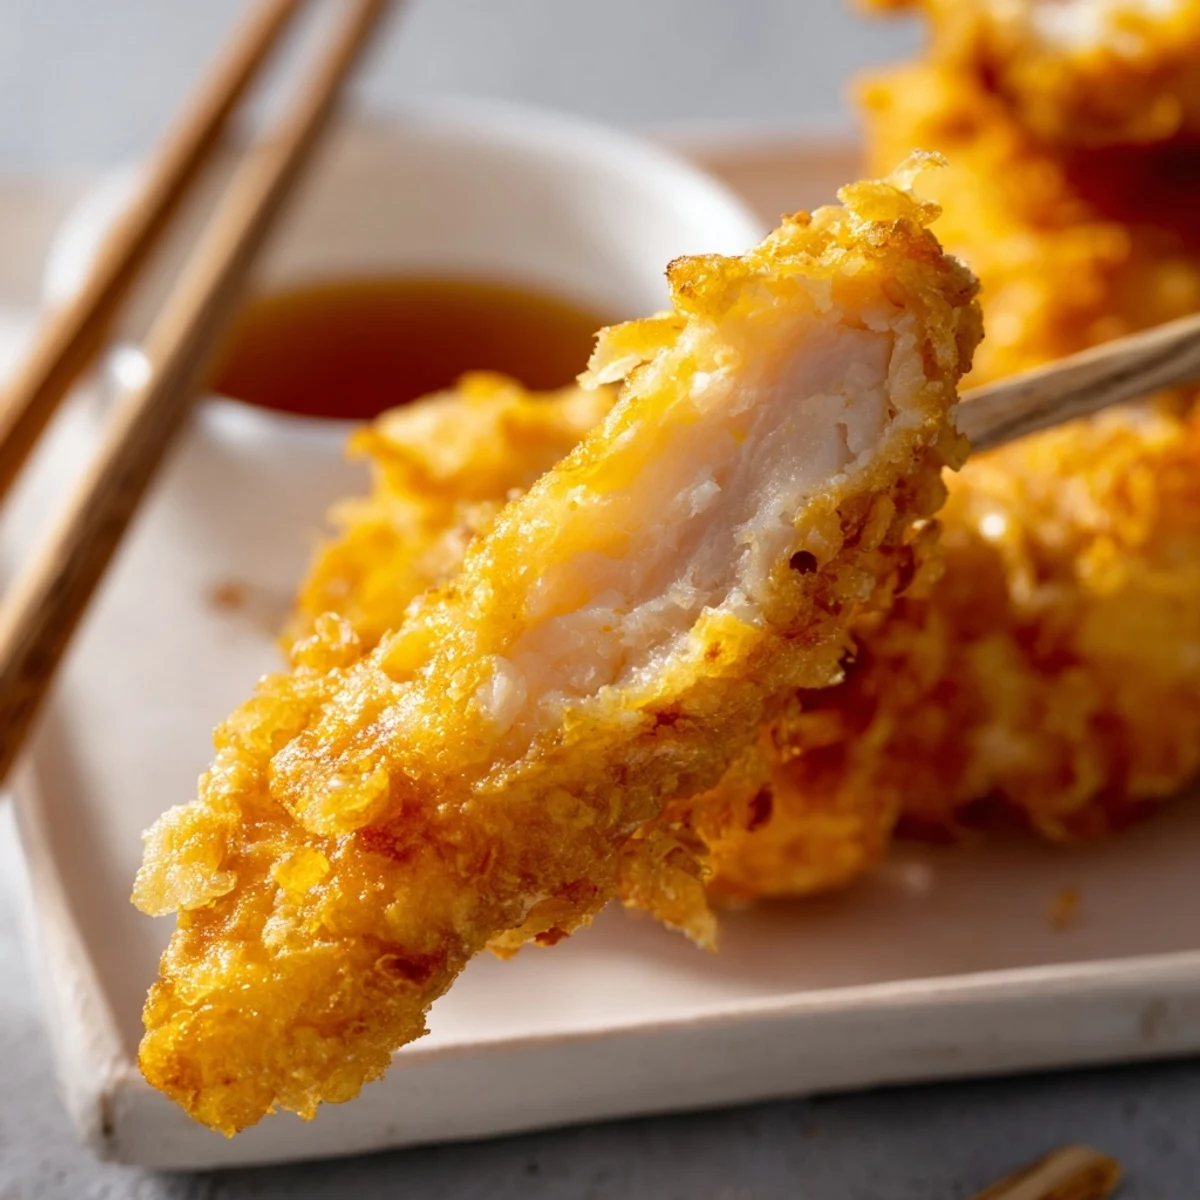
 There is something magical about pulling that first batch out of the oil, hearing the crunch, and knowing you made something restaurant quality in your own kitchen.
Recipe FAQs
- → What makes tempura batter crispy?
-
The combination of ice-cold sparkling water, cornstarch, and minimal mixing creates air pockets in the batter. These pockets expand during frying, resulting in the signature light and crispy texture. Avoid overmixing to maintain these air bubbles.
- → Can I use regular water instead of sparkling water?
-
While possible, sparkling water creates a lighter, crispier coating due to carbonation. Regular water works but may produce slightly denser results. For the best texture, stick with chilled sparkling water.
- → What oil temperature is best for frying?
-
Maintain oil at 175°C (350°F) for optimal results. Too hot burns the coating before cooking through; too cool makes the chicken greasy. Use a kitchen thermometer for accuracy.
- → How do I keep tempura crispy while serving?
-
Fry in batches and drain on a wire rack rather than paper towels. Elevating pieces allows airflow, preventing sogginess. Serve immediately for the best crunch, or keep warm in a 200°F oven.
- → Can I make this gluten-free?
-
Substitute all-purpose flour with a gluten-free flour blend and use tamari instead of soy sauce. The texture may vary slightly but remains delicious. Check all ingredients for hidden gluten.
- → What other proteins work with this batter?
-
Shrimp, white fish fillets, and vegetables like sweet potato, zucchini, or green beans all work beautifully. Adjust cooking time based on thickness—seafood typically needs 2-3 minutes.